반응형
python json를 사용할 일이 많아서 정리하고 넘어간다!

1. json.load()
json 파일을 읽어서 json object를 python dictionary로 가져옵니다.


2. json.dump()
python dictionary 타입의 객체를 json 파일로 씁니다.


3. json.dumps()
python dictionary 타입의 객체를 string 타입으로 가져옵니다.
dictionary와 string을 출력했을 때 값이 다른 것을 확인할 수 있습니다.


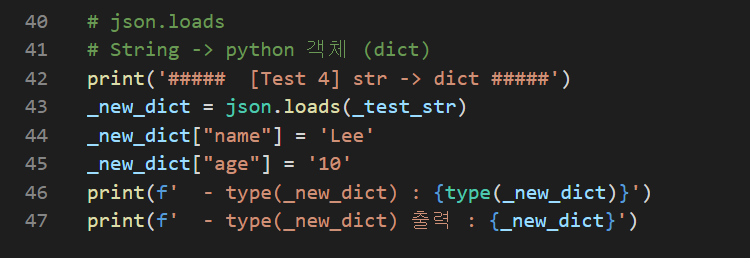
4. json.loads()
string 타입의 객체를 dictionary 타입으로 가져옵니다.
아래에서는 dictionary로 가져온 후 name과 age라는 key 에 해당하는 value를 수정하여 저장하였습니다.


전체 코드
import json

path = "./jsontest.json"
newpath = "./output.json"

# json.load
# json 파일 -> python 객체(dict)
print('#####  [Test 1] json file -> dict #####')
with open(path) as json_file:
    _json_dic = json.load(json_file)

print(f'  - 저장된 json 포맷 파일 내용 : {_json_dic}')
print(f'  - json.load 한 type : {type(_json_dic)}')
print(f'  - json parsing ["name"] : {_json_dic["name"]}')


# json.dump
# python 객체(dict) -> json 파일로 쓰기
print('#####  [Test 2] dict -> json file #####')
with open(newpath,"w") as output_file:
    json.dump(_json_dic, output_file)
    print(f'  - python 객체를 json.dump를 사용하여 json 파일로 쓰기 ')


# json.dumps
# json 포맷 데이터(dict) -> String
print('#####  [Test 3] dict -> str #####')
_test_dic = {
    'name' : 'Kim',
    'age' : 5
}
print(f'  - type(_test_dic) : {type(_test_dic)}')
print(f'  - type(_test_dic) 출력 : {_test_dic}')

_test_str = json.dumps(_test_dic)
print(f'  - json.dumps 한 type(_test_str) : {type(_test_str)}')
print(f'  - json.dumps 한 type(_test_str) 출력 : {_test_str}')


# json.loads
# String -> python 객체 (dict)
print('#####  [Test 4] str -> dict #####')
_new_dict = json.loads(_test_str)
_new_dict["name"] = 'Lee'
_new_dict["age"] = '10'
print(f'  - type(_new_dict) : {type(_new_dict)}')
print(f'  - type(_new_dict) 출력 : {_new_dict}')
반응형
'언어 > python' 카테고리의 다른 글
| python api 서버에서 파일 다운로드 구현하기 (flask / fastapi) (0) | 2022.04.17 |
|---|---|
| python3 rsa public key 사용하여 encrypt 하기 (0) | 2021.07.18 |